EX3 - CREATING AN APPLICATION LOAD BALANCER FOR THE VPC
Create an Application load balancer for the following VPC Setup.
Requirements:
- VPC
- 4 Subnets (2 public and 2 private).
- Internet gateway and Nat Gateway
- load balancer- application
- Web application
Application load balancer automatically distributes your incoming traffic across multiple targets, such as EC2 instances, containers, and IP addresses, in one or more Availability Zones. It monitors the health of its registered targets, and routes traffic only to the healthy targets.
Procedure:
1. Create a VPC with the above mentioned subnet configurations - 2 public and 2 private subnets.


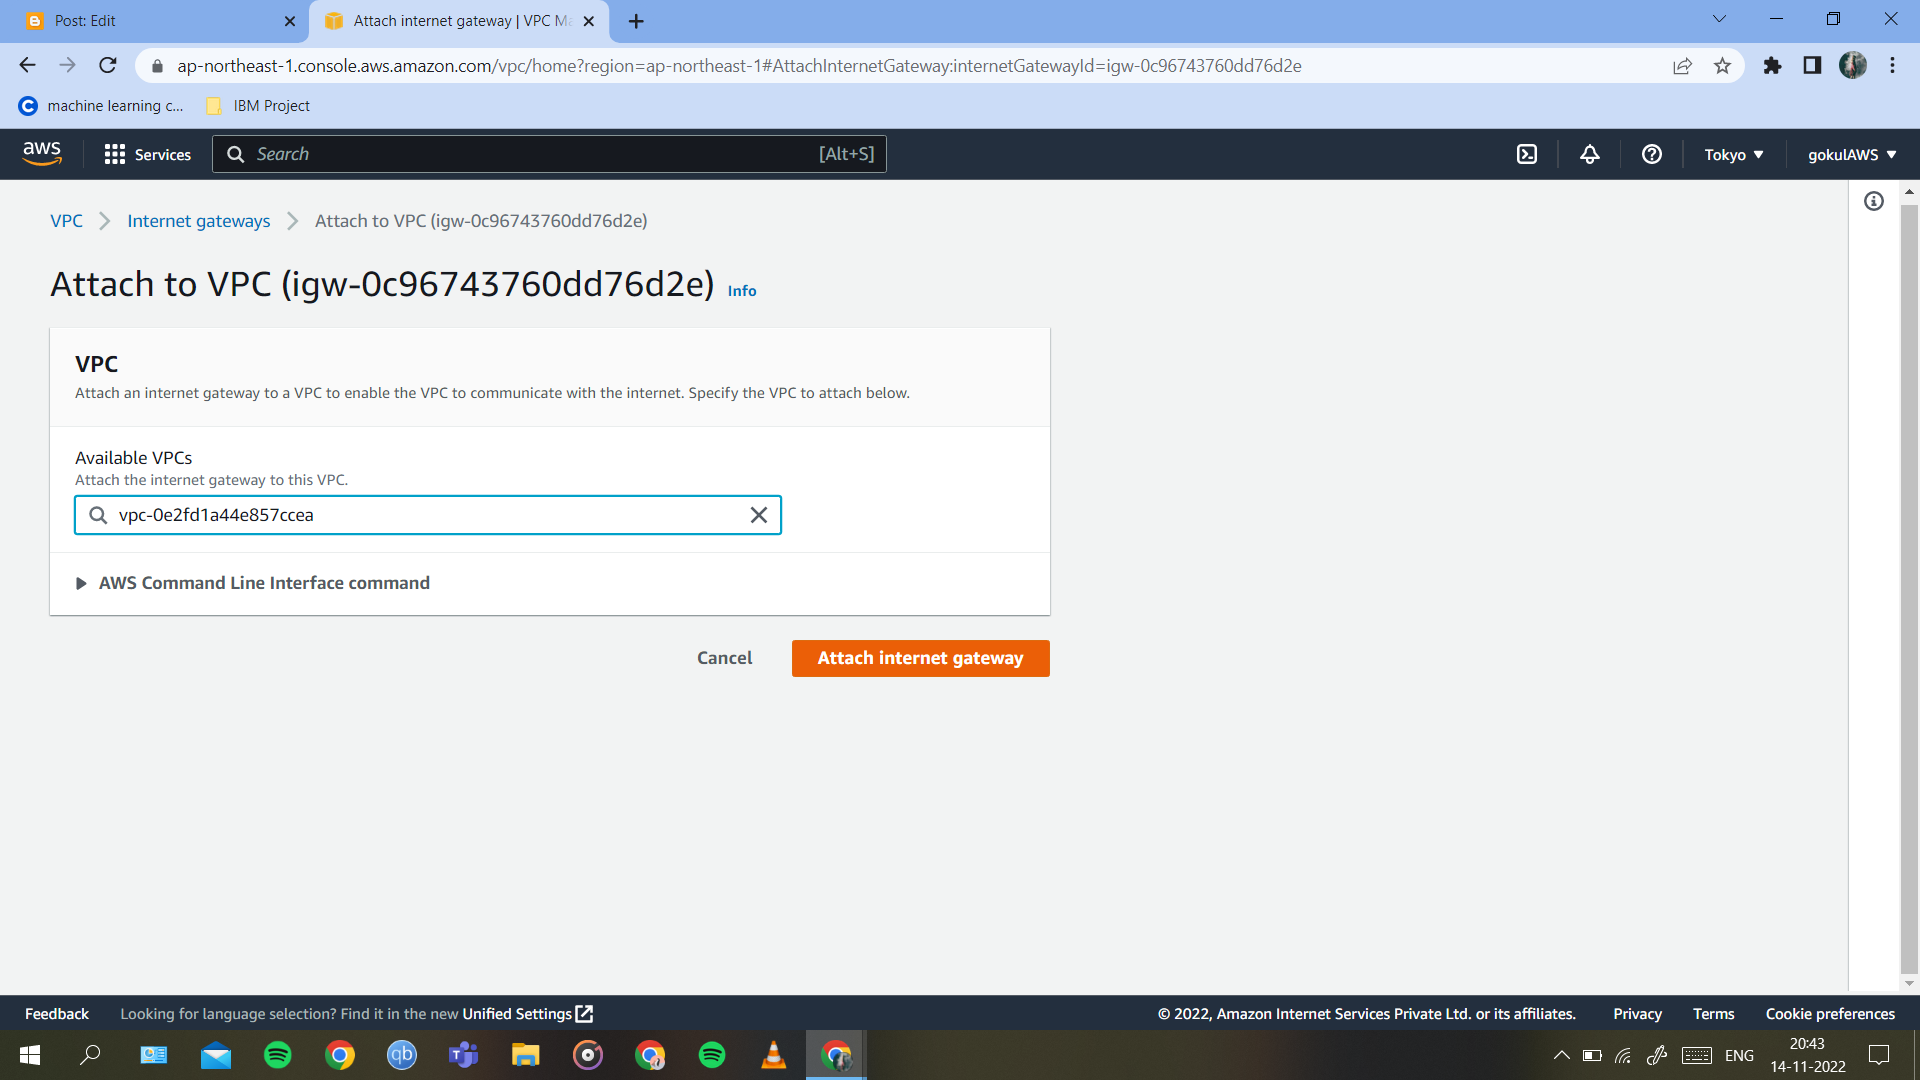
2. Create a Internet Gateway and attach it to the VPC we created now.


3. Now we have to create a NAT Gateway for private subnets. Also allocate the elastic IP.


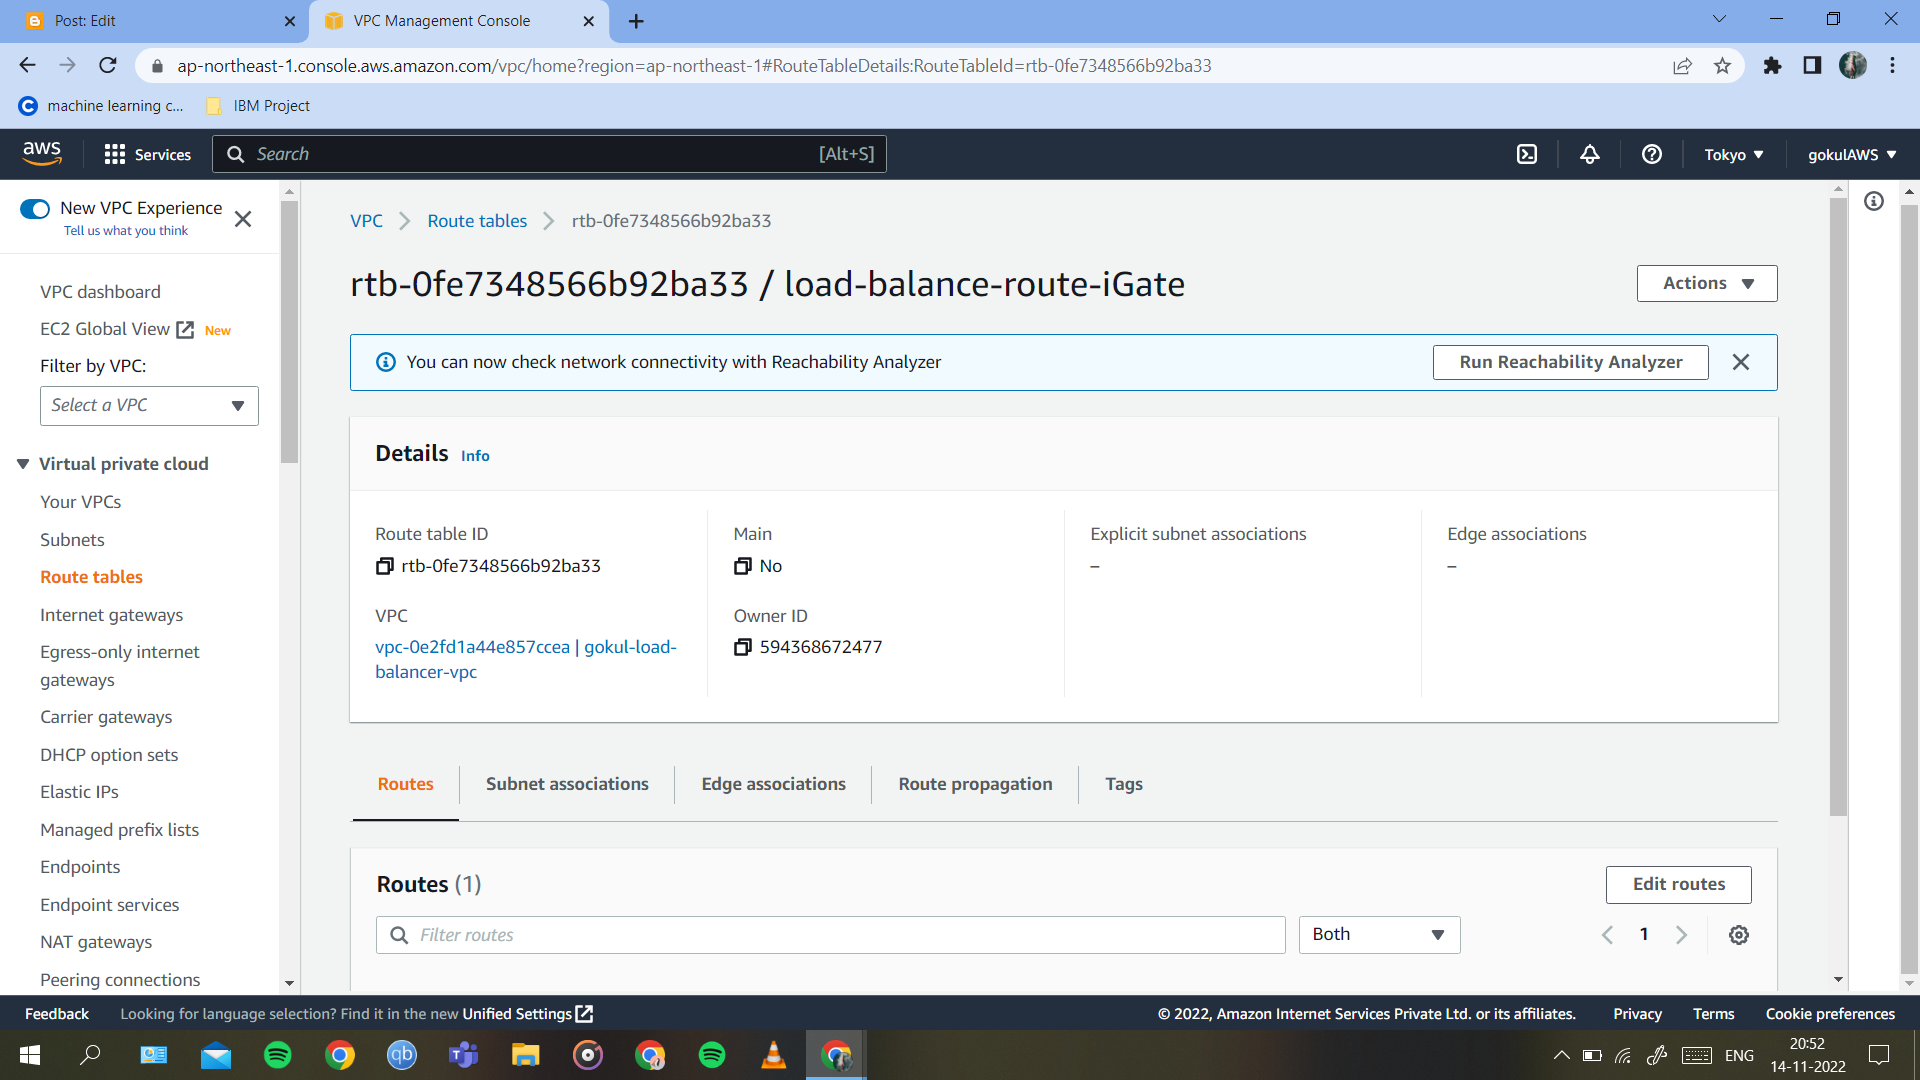
4. Then select the default Route Table of our VPC and add route to our Internet Gateway. Then associate the route table to the public subnets.


5. Now create a separate Route Table for NAT Gateway and edit the route. Then associate the route table for our private subnets.


6. Now our VPC is done. For more details, refer my previous blog.
7. Now we have to create 2 EC2 instances for our private subnets as we did in the previous blog. Also created a security group "loadb-sg" . Then in advanced details navigate to user data and paste the below code in one instance:
#!/bin/bash
yum install httpd -y
systemctl enable httpd
echo “<h1>This is instance 1 - GOKUL </h1>” >/var/www/html/index.html
systemctl start httpd

Similarly for the instance 2 create for respective private subnet and in user data paste the following code:
#!/bin/bash
yum install httpd -y
systemctl enable httpd
echo “<h1>This is instance 2 - GOKUL </h1>” >/var/www/html/index.html
systemctl start httpd
8. Now go to LOAD BALANCER section and create a load balancer and choose application load balancer.

9. Configure with the below inputs and map the respective subnets and available zone.


10. Create a Target group and add the EC2 instances in the group. Then Register Target Group.


11. Then add the above created target group to our load balancer and finish the creation.


12. Security Group of our Load balancer should be added to the security group of our EC2 instances in the inbound rules with Http Protocol.

13. Check for Target Group Health Status. If they are healthy, we are good to go to test our load balancer.

14. Go to load balancer and copy-paste the url in DNS field in a browser.


Comments
Post a Comment