EXP 1 A : Creating a EC2 instance accessible via remote client in AWS
Requirements:
- EC2-parameters, IP address
- Puutygen, putty(windows), SSH client-Ubuntu
- PEM/PPK file
- EC2 Username&Key
Aim:
To create a EC2 instance accessible via remote client in AWS.
Procedure:
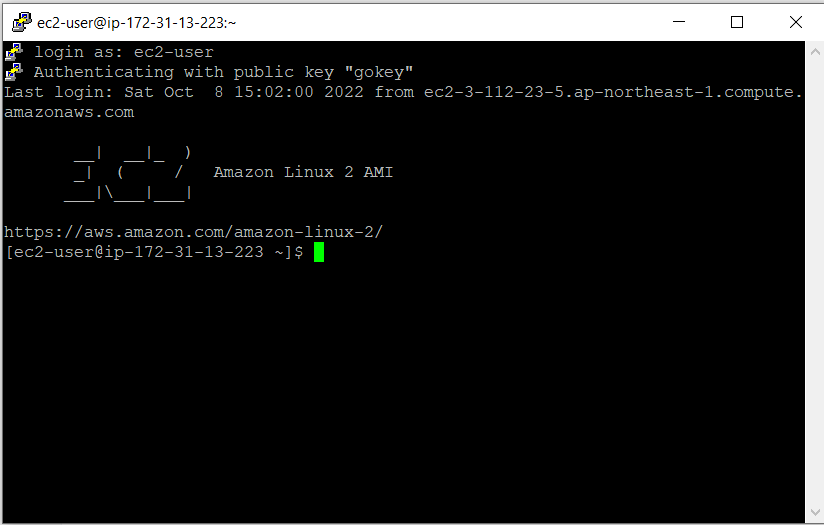
First to connect to an Instance, you need PuTTY which is a free SSH client that allows you to do that from our local computer running Windows.
Download and Install PuTTY from their official page.
The open putty.exe from the installation folder.

In that Hostname field type your Hostname or the Public DNS address from the EC2 Management Console. Then set the Port to 22 and connection type to SSH.

Click Browse to locate the .ppk file which we downloaded when we created our key pair and then select it. Click Open to connect to your Instance.
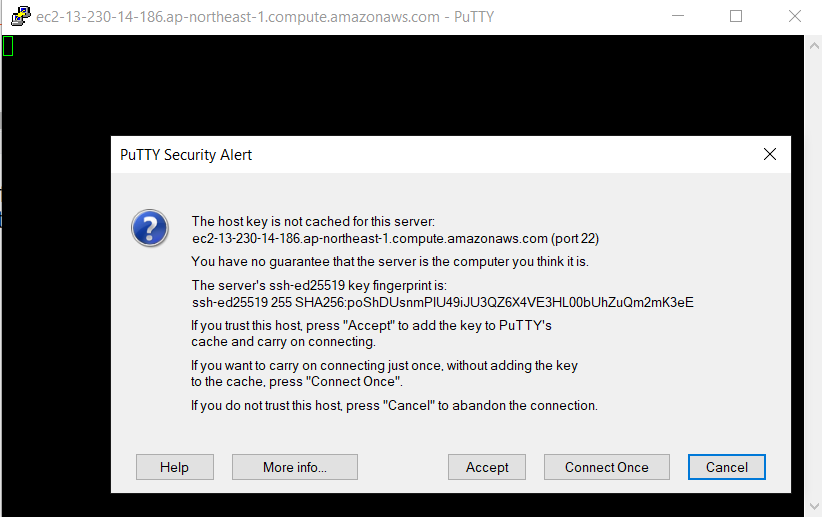
If this is the first time to connect to your instance, PuTTY Security Alert will ask whether to proceed or not. Select Accept to complete the connection process.
We can move files into and out of our instance from our local machine running Windows by using Windows Secure Copy(WinSCP), provides GUI that allows us to drop files between our local computer and our instance
First Download and Install WinSCP from their official website. Open WinSCP.

Here I have already created a session "gokul".
If you want to create a new site, you have to give your hostname, username and load the ppk file. It is the similar process like how we connected our instance.
If you want to create a new site, you have to give your hostname, username and load the ppk file. It is the similar process like how we connected our instance.
When you login, it will open a Warning alert then click 'Yes'.


In the above, the left panel contains all the file contents of my local computer and the right panel contains the files of my EC2 Instance.
It is similar to Windows Files Explorer.
We can drag and drop files between our local machine to our EC2 instance.


Comments
Post a Comment